Georgia
Our mission is to save lives by meeting the most critical needs of our communities and investing in breakthrough research to prevent and cure breast cancer.
Georgia
Our mission is to save lives by meeting the most critical needs of our communities and investing in breakthrough research to prevent and cure breast cancer.
Need Help?
Call our breast care helpline to assist with finding local screening and diagnostic facilities or clinical research trials, requesting financial assistance, or other questions or care needs.
Get Involved
Help us reach our vision of a world without breast cancer by getting involved in our local community.
Susan G. Komen Georgia
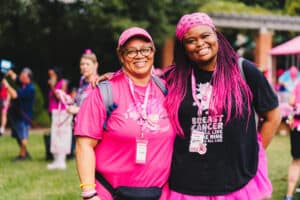
MORE THAN PINK Walk
Saturday, October 26, 2024
Join us as we unite in the fight against breast cancer. Together, we’ll raise crucial funds to help those impacted by breast cancer when they need it most.
Ending breast cancer needs hope.
Ending breast cancer needs compassion.
Ending breast cancer needs all of us.

Meet the winner of our 2024 Georgia BigWigs Campaign
Linda Dameron
Thank you, Linda and the entire team at Crown Asset Management for your dedication and support in making the 2024 BigWigs campaign a success!
Meet the 2024 Georgia BigWigs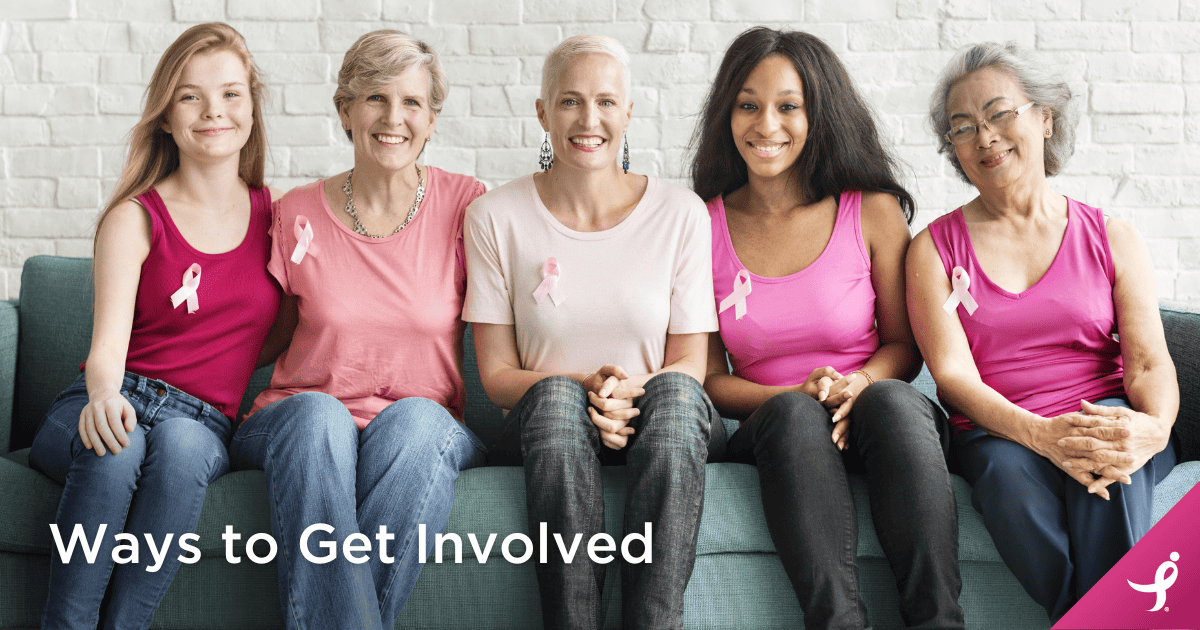
Join the Executive Leadership Committee
The Georgia MORE THAN PINK Walk is looking for ELC members serve in a volunteer role to help secure new partners and corporate teams for the Georgia MORE THAN PINK Walk event in October and lend their name and company name to the mission.
Contact Us for More Information
Thank You Sponsors
Help us give a special THANK YOU to our Local More Than Pink Walk Sponsors who are making a big impact in our fight against breast cancer. Let’s support the generous organizations and businesses that support our community!
I want to be a sponsor in 2024!
Go Pink for the Cure!
We’re excited to announce Komen’s latest fundraising program: Go Pink for the Cure. This program focuses on the next generation of passionate, grassroots advocates for the cause: students!
Learn MoreLocal Events
Join the fight to end breast cancer by attending an event in Georgia!
Questions? Contact Us
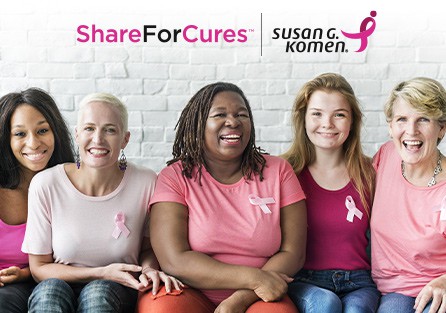
ShareForCures
Your breast cancer information is as unique as you are. When combined with thousands of other ShareForCures members, you provide scientists with a more diverse set of data to make new discoveries, faster.
Latest News & Information
Nikki’s Story: I’m Not Going to Let Cancer Steal My Sparkle
Nikki Anderson’s cancer journey began with a uterine cancer diagnosis in her 30s, which was followed by a breast cancer diagnosis six years later. She celebrates her journey by fundraising for the Komen 3-Day with Team Sparkle, inspired by her own adage: “I’m not going to let cancer steal my sparkle.”
The post Nikki’s Story: I’m Not Going to Let Cancer Steal My Sparkle appeared first on Susan G. Komen®.
Susan G. Komen® Peoria MORE THAN PINK Walk Raises Funds for Breast Cancer Patient Care Services in Illinois
Susan G. Komen®, the world’s leading breast cancer organization, will hold the Susan G. Komen Peoria MORE THAN PINK Walk on Saturday, May 11, 2024, at Metro Centre. This signature event enables Komen to raise critical funds that provide direct support to breast cancer patients, fund groundbreaking research, empower health equity initiatives nationwide, and advocate […]
The post Susan G. Komen® Peoria MORE THAN PINK Walk Raises Funds for Breast Cancer Patient Care Services in Illinois appeared first on Susan G. Komen®.
Georgia
Contact Us
Susan G. Komen Georgia
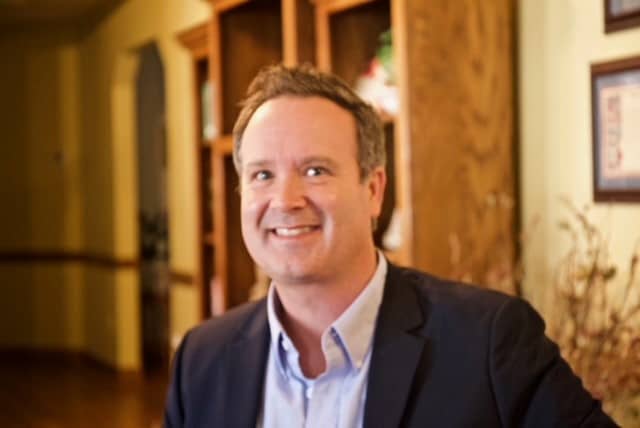
VP, CD Strategy & South Region: Tim Newman
Email: tnewman@komen.org
Phone: 629-895-5580